How to Create Engineering Challenges for Your Science Classroom
Integrating engineering challenges into your science classroom can ignite curiosity and foster critical thinking among students. The Next Generation Science Standards (NGSS) and Science and Engineering Practices (SEPs) were designed to provide a framework for teaching students how to use the process engineers and scientists use. But teachers must still do the work of creating activities that accomplish the NGSS engineering goals.
Below, is a step-by-step guide to doing so. But first…
Understanding NGSS and SEPs
The NGSS are K–12 science content standards that set the expectations for what students should know and be able to do. SEPs are one of the three dimensions of NGSS, focusing on the skills and practices scientists and engineers use to investigate the natural world and design solutions to problems.
The eight SEPs are:
Asking Questions and Defining Problems
Developing and Using Models
Planning and Carrying Out Investigations
Analyzing and Interpreting Data
Using Mathematics and Computational Thinking
Constructing Explanations and Designing Solutions
Engaging in Argument from Evidence
Obtaining, Evaluating, and Communicating Information
Step-by-Step Guide to Creating Engineering Challenges
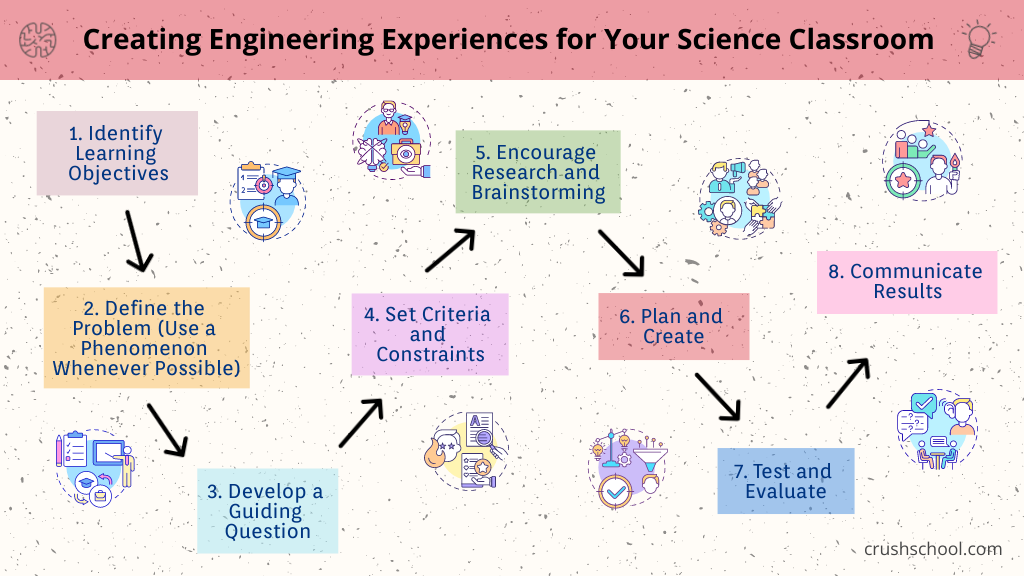
1. Identify Learning Objectives
Start by identifying the key learning objectives from the NGSS. Determine what concepts you want your students to understand and what skills they should develop. For example, if you want students to understand the principles of force and motion, align your challenge with relevant performance expectations and SEPs.
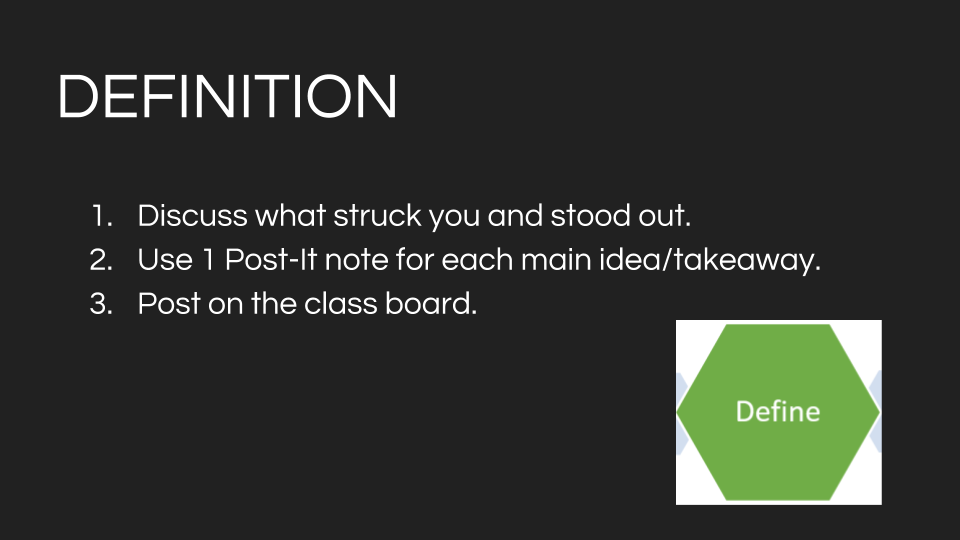
2. Define the Problem (use a Phenomenon Whenever Possible)
Present a real-world problem that is relevant and challenging. Frame the problem in a way that requires students to apply their knowledge and creativity. For instance, challenge students to design a bridge that can hold a certain weight using limited materials. You can introduce it by using a phenomenon such as the The Minneapolis Bridge Collapse (August 1, 2007) to introduce the engineering challenge to peak students’ interest.
3. Develop a Guiding Question
Formulate a guiding question that will direct students' inquiry and design process. A well-crafted question encourages critical thinking and exploration. For example: "How can we design a bridge using only paper and tape that can support a 5-pound weight?"
4. Set Criteria and Constraints
Clearly define the criteria for success and any constraints. Criteria might include the weight the bridge must hold, while constraints could involve the materials and time available. This step is crucial as it mimics the limitations engineers face in the real world.
5. Encourage Research and Brainstorming
Guide students to research existing solutions and brainstorm their own ideas. Encourage them to think creatively and consider multiple approaches. This aligns with SEPs such as Developing and Using Models and Engaging in Argument from Evidence.
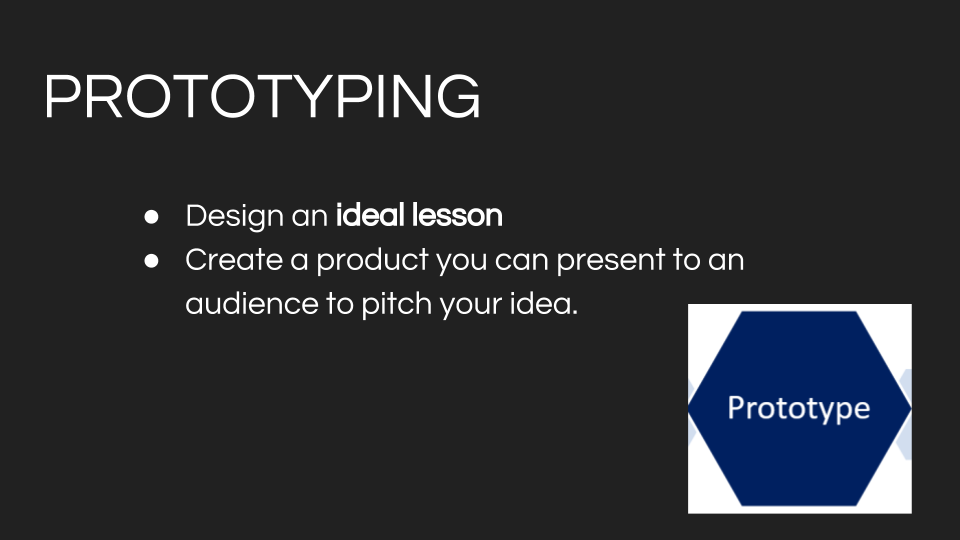
6. Plan and Create
Have students plan their designs, create prototypes, and test their solutions. Provide opportunities for iterative testing and improvement. This hands-on process allows students to apply concepts from SEPs like Planning and Carrying Out Investigations and Analyzing and Interpreting Data.
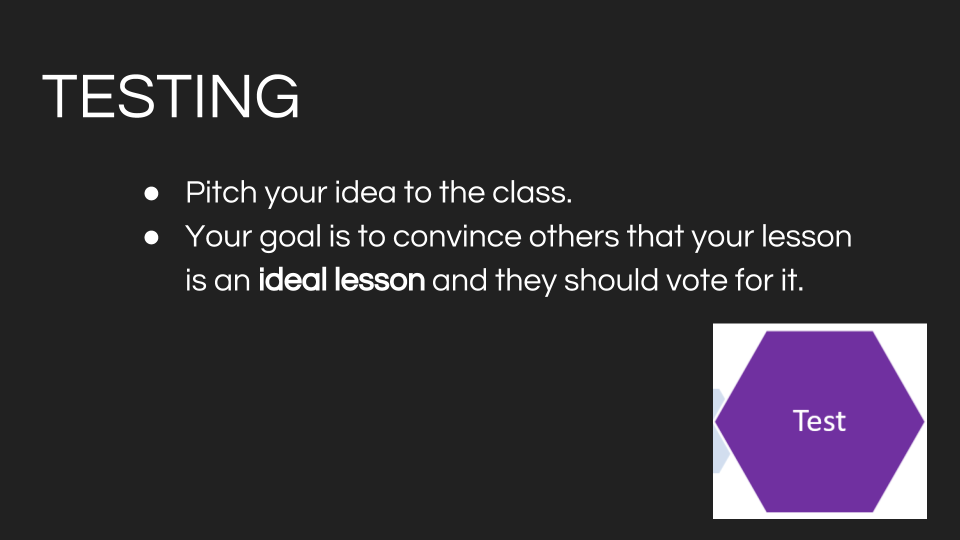
7. Test and Evaluate
Once the prototypes are built, conduct tests to see how well they meet the criteria. Encourage students to analyze the data collected during testing to evaluate the effectiveness of their designs. This phase emphasizes SEPs related to Analyzing and Interpreting Data and Using Mathematics and Computational Thinking.
8. Communicate Results
Have students present their designs, processes, and findings to the class. This can be done through reports, presentations, or demonstrations. This step aligns with Obtaining, Evaluating, and Communicating Information, allowing students to articulate their understanding and reasoning.
Example Engineering Challenge
Objective: Understand the principles of aerodynamics and forces.
Possible Phenomenon: Glider Airplanes
Problem: Design a paper airplane that can fly the farthest distance.
Guiding Question: "How can we design a paper airplane that maximizes flight distance using principles of aerodynamics?"
Criteria and Constraints:
The airplane must be made from a single sheet of standard paper.
No additional materials (e.g., tape, clips) are allowed.
The plane must be launched by hand.
Process:
Research different paper airplane designs and the principles of aerodynamics.
Brainstorm and sketch multiple designs.
Build and test prototypes, measuring flight distances.
Analyze results and refine designs.
Present final designs and explain the aerodynamic principles applied.
Conclusion
Creating engineering challenges using NGSS and SEPs can transform your science classroom into a dynamic learning environment. By following the steps above, you can help students develop a deep understanding of scientific concepts while honing their problem-solving and critical-thinking skills. These challenges not only make learning fun but also prepare students for real-world scientific and engineering endeavors.
BOOKS & TOOLS
- December 2025 1
- September 2025 2
- August 2025 5
- July 2025 4
- June 2025 2
- August 2024 2
- July 2024 2
- June 2024 1
- October 2023 1
- September 2023 3
- August 2023 6
- July 2023 6
- July 2022 2
- June 2022 1
- November 2020 3
- October 2020 3
- April 2020 1
- March 2020 5
- July 2019 1
- June 2019 1
- April 2019 1
- January 2019 1
- November 2018 3
- October 2018 2
- September 2018 1
- August 2018 8
- July 2018 11
- June 2018 4
- May 2018 5
- April 2018 2
- March 2018 4
- February 2018 5
- January 2018 3
- December 2017 1
- November 2017 5
- October 2017 7
- September 2017 6
- August 2017 5
- July 2017 3
- June 2017 10
- May 2017 7
- April 2017 7
- March 2017 15
- February 2017 12
- January 2017 13
- December 2016 15
- November 2016 8
- October 2016 7
- September 2016 12
- August 2016 14
- July 2016 10
- June 2016 13
- May 2016 10
- April 2016 8
- March 2016 5
- February 2016 7
- January 2016 6
- December 2015 5
- November 2015 8
- October 2015 2

